
Congratulations! You’re ready to take the leap into social media, which for most businesses is the creation of your Facebook page. I’ll walk you through the creation of your page while sharing tips to help maximize your results.
Before starting, make sure you have set up a personal Facebook account. Creating a business-only page comes with limitations so in order to take full advantage of what Facebook has to offer, set up your personal account first. It’s important to note that your personal account will not be visible to your business page followers, so don’t worry about your personal privacy in that regard.
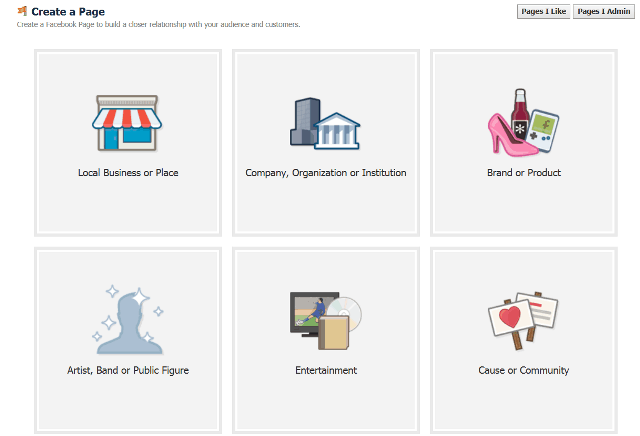
Step 1: Choose Your Business Type
While logged into Facebook, you’ll be able to create your business page by visiting https://www.facebook.com/pages/create/. You’ll have the option of selecting a category based on what type of business you have. For most agencies, ‘Local Business or Place’ will work perfectly. If you have multiple agencies and would like to have one main page that represents all locations, you may want to select ‘Company, Organization or Institution’. Tower Hill is categorized as a ‘Company, Organization or Institution’.
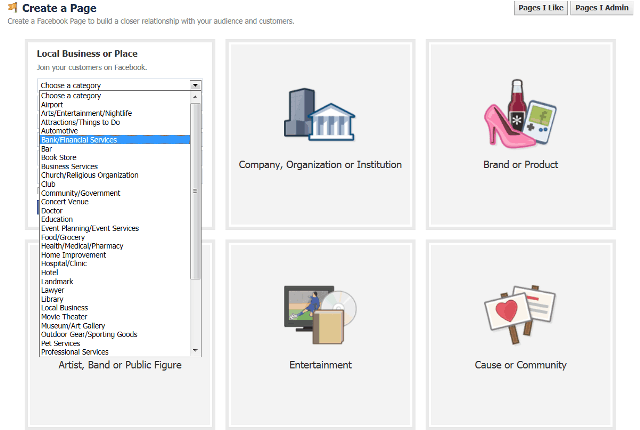
Step 2: Choose Your Business Category
Once you have chosen what type of company you represent, go ahead and choose your business category based on the options Facebook provides in the drop down menu. Tower Hill is listed under ‘Insurance Company’.
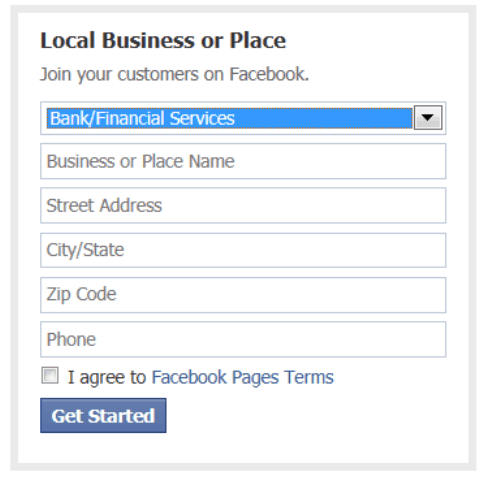
Step 3: Name Your Page
At this point you have to give your business a name. Be sure to use the exact business name that is used on your website so Google can make a connection between the two pages. There is a limit of 70 characters, so if you have a long agency name try to get it as close as possible. It’s important to note that you may change your name after this step as many times as you’d like UNTIL your page reaches 200 likes. After that your name is set so make sure you decide on the perfect name well before that point.
If you have chosen Local Business or Place as your category, you will also enter your location and phone information at this time. Once you have all of your information entered correctly, check the agreement and then hit the ‘Get Started’ button.
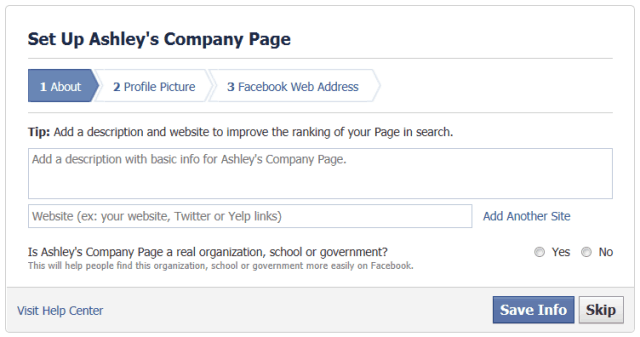
Step 4: Tell Your Followers About Your Agency
The ‘About’ section of your Facebook page is your chance to tell your potential followers about your agency and what they’ll see from you. You are currently limited to 155 characters in this section, so use them wisely. This section is indexed by Google which means the keywords you use here will help to determine where you appear on search engine results pages (SERPs). This section also serves as the meta description for the page and will appear under your Facebook page listing on SERPs.
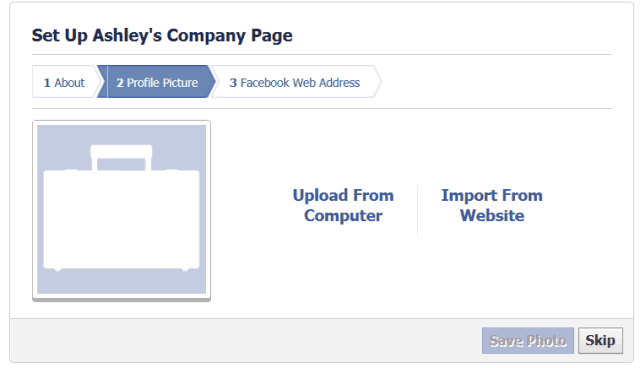
Step 5: Add Your Profile Picture
Your profile picture will appear on your page, next to your posts that are displayed on your follower’s news feeds and on every comment you make on Facebook. Make sure the photo represents your brand and also fits within 180 X 180 pixels. If possible, I recommend using your logo.
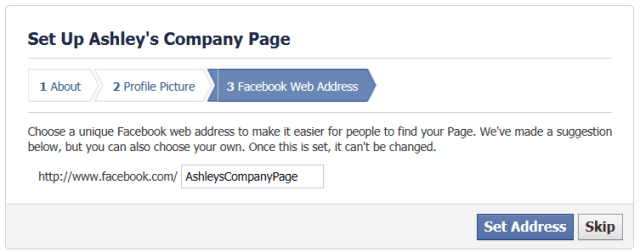
Step 6: Finalize Your Facebook Web Address
This will be the URL you share with others to promote your Facebook page, so try to keep the web address as close to your company name as possible. Once this is set it cannot be changed.
You now officially have a Facebook page, but before venturing into the world of posting, sharing and liking content you’ll want to put the finishing touches on your page.
Step 7: Add to Your About Section
This is your chance to go into further detail about exactly what your agency offers for potential followers. To access this section from your Facebook page, hit the ‘Edit Page’ button at the top right. You’ll see a drop down menu where you’ll then choose ‘Update Public Info’. Fill each section in its entirety and make sure to use the important keywords as they will be indexed by Google. If you are stumped as to what types of content you should provide in any of the sections, visit our Facebook page for ideas. For those that chose the Local Business category, review your map to make sure it’s correct.

Step 8: Review Your Permissions
In this section you can determine who can follow you and also what they can do on your page. To access this section from your Facebook page, hit the ‘Edit Page’ button at the top right. You’ll see a drop down menu where you’ll then choose ‘Edit Settings’. Make sure you are comfortable with every setting – especially the Moderation and Profanity blocklists. These settings have the ability to filter posts and comments that contain words you deem inappropriate for your page – helping you to manage your page later on. The Profanity blocklist for Tower Hill is currently set as Strong so our followers are not subjected to language we deem to be inappropriate.
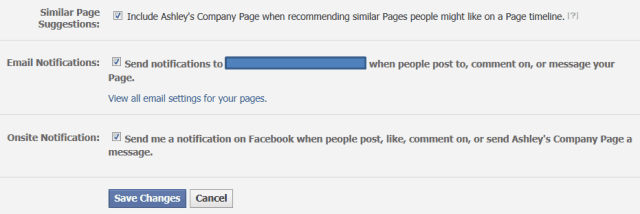
Step 9: Review Your Personal Settings
To access this section from your Facebook page, hit the ‘Edit Page’ button at the top right. You’ll see a drop down menu where you’ll then choose ‘Edit Settings’. This will bring you back to your Permissions page. You’ll want to visit the left side of your screen and click on ‘Your Settings’. Make sure the correct email address is listed. Since notifications are being sent to that address, you’ll want to use an email account you access regularly.
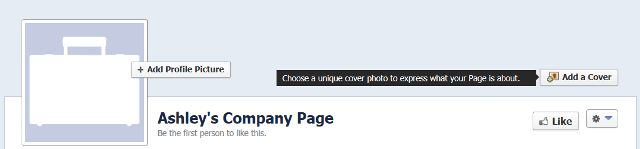
Step 10: Add Your Cover Photo
The cover photo appears on your Facebook page and is a great way to infuse your brand. Just make sure your photo doesn’t include more than 20% text. If you’re unsure whether your photo meets Facebook’s standards, visit their post on how the text area is calculated. Dimensions for this photo are 851 X 315 pixels.
Now you’re ready to go! Be sure to like your page, create your first post and don’t forget to share your page with your Facebook friends!