We have already covered how to create Facebook and Twitter accounts, so you’re probably feeling very comfortable in the social media arena by now. You’ve connected with your customers, now it’s time to focus on growing your agency and industry connections. That’s where LinkedIn comes in. I’ll walk through the steps to creating an optimized page to not only recruit new talent but also engage with leaders in your industry.
Step 1: Create Your Page
To create your agency’s LinkedIn page, visit http://www.linkedin.com/companies and click on the ‘Add a Company’ link found in the upper right corner.
Enter your agency name and official email address.
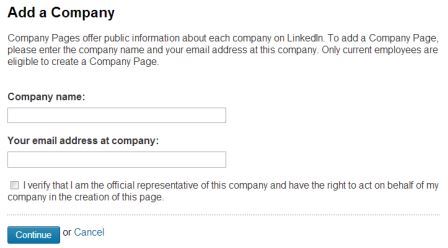
Check the verification box and click ‘Continue’ – your page is now active!
Step 2: Personalize Your Page
Now that your page is active, you can now make it fit your brand. To do so, click on the ‘Edit’ button on the upper right corner and click on ‘Edit Page’.
In this section you’ll set your agency name and add your company description. I recommend using text that is on your website – especially content that contains keywords you have already identified as an important part of your digital strategy. Also, take the time to carefully choose who will serve as administrators for your page.

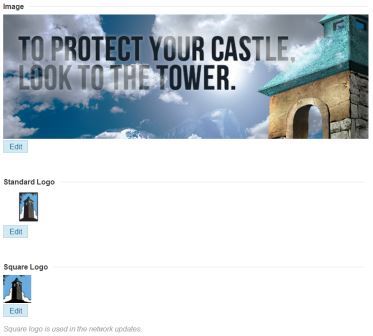
Next you’ll add 3 images to personalize your page and promote your brand. You’ll need an image (similar to your Facebook cover photo), a standard logo and a square logo. All images must must be in PNG, JPEG or GIF format with a maximum size of 2 MB. The image cannot exceed 646 X 220 pixels, the standard logo will be resized to fit 100 X 60 pixels and the square logo will be resized to fit 50 X 50 pixels.
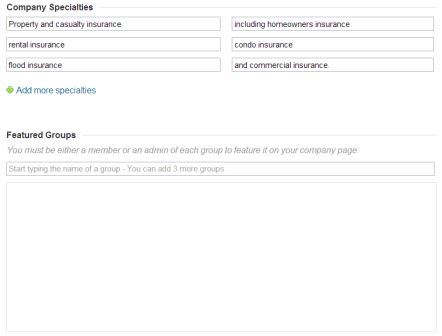
Lastly, add your company specialties and list groups your agency belongs to. You can see the specialties Tower Hill has listed below.
Once you have entered all of your agency information, hit ‘Publish’.
Step 3: Add Products
This section is where you’ll let customers and future employees what types of products you offer. To add a product, click on the ‘Edit’ button on the upper right corner and click on ‘Add a Product or Service’.
Each product or service is capable of featuring a lot of information- including important keywords, links and images- to help your page perform better in search. The more information you can add for each product, the more optimized your page will be.
Once you have completed each product or service, hit ‘Publish’.
Step 4: Encourage Employees to Share Your Page
Encourage all of your employees to update their LinkedIn profiles so that their current work section is associated with the new company page. The linking won’t happen automatically – you need to manually update your work section and tag it with the company page.
You should also encourage your employees to share the page with their networks and ask individuals to become a fan.
Step 5: Ask for Recommendations
Recommendations serve as testimonials and can be very influential if a customer is debating whether to use your agency for their insurance needs. Ask satisfied customers while they are visiting your agency – many will be happy to endorse you for your great work.
Step 6: Share Your Content
Now that your page is optimized and has a following, don’t just let it sit there! Update your information as necessary and share agency news as it occurs. Did your agency just win an award within your community or even the industry? Share it. If job opportunities arise within your agency, post an update. If you’ve created content for your blog, post a link. These updates will appear in your followers’ feeds and their interactions will help your presence – and agency – grow!